This DIY includes affiliate links to products used.
For this accent wall it cost us less than $60. How awesome is that! Professional outcome for less money. Here’s how we did the transformation Start to finish. This took about 7 hours to complete.
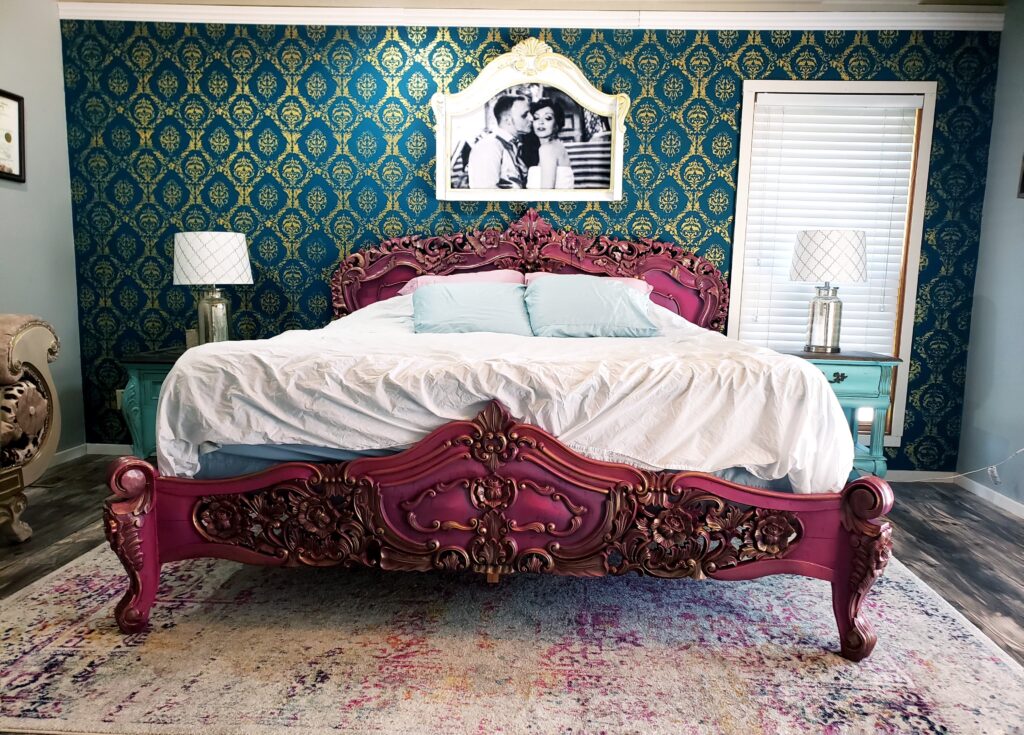
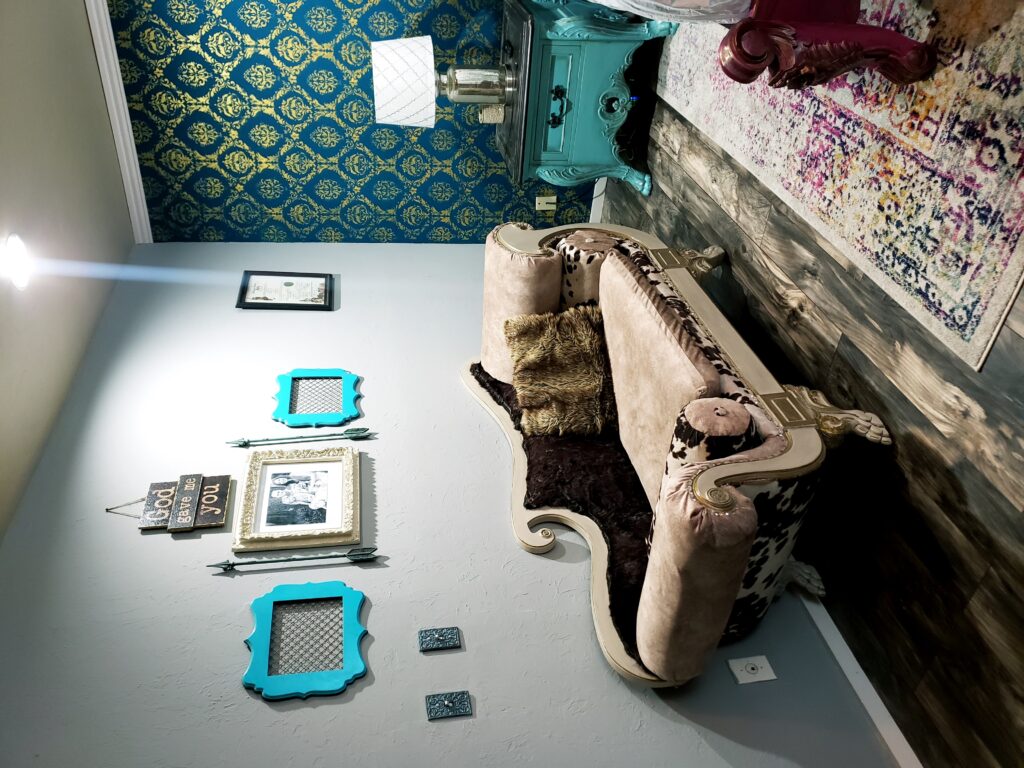
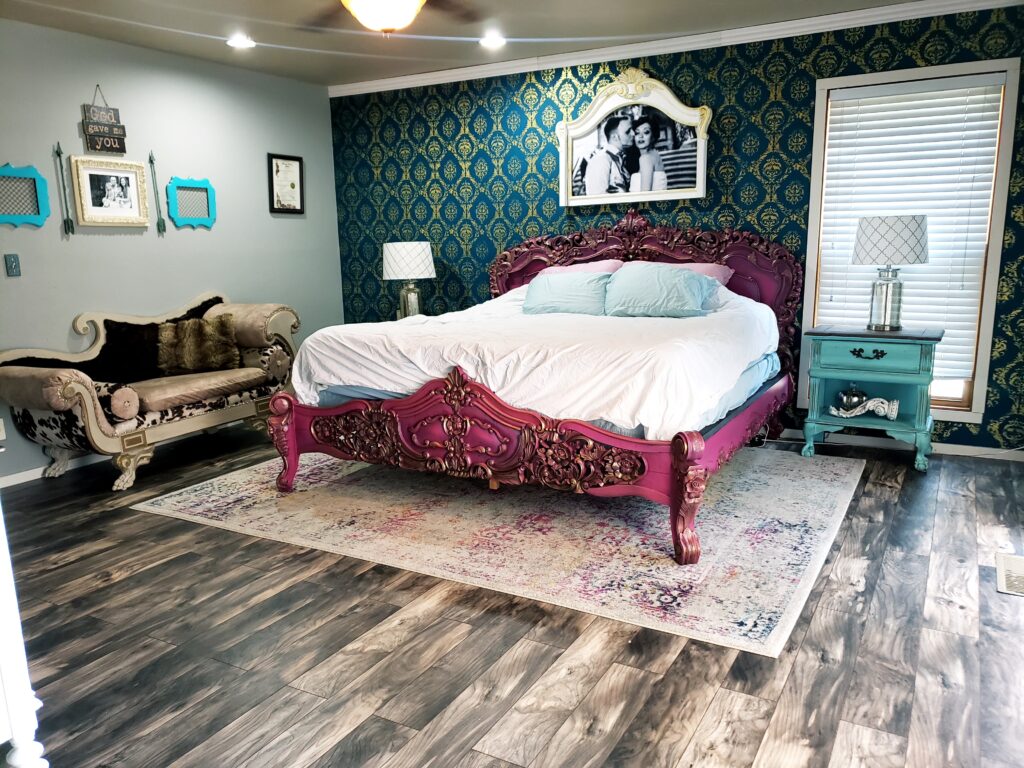
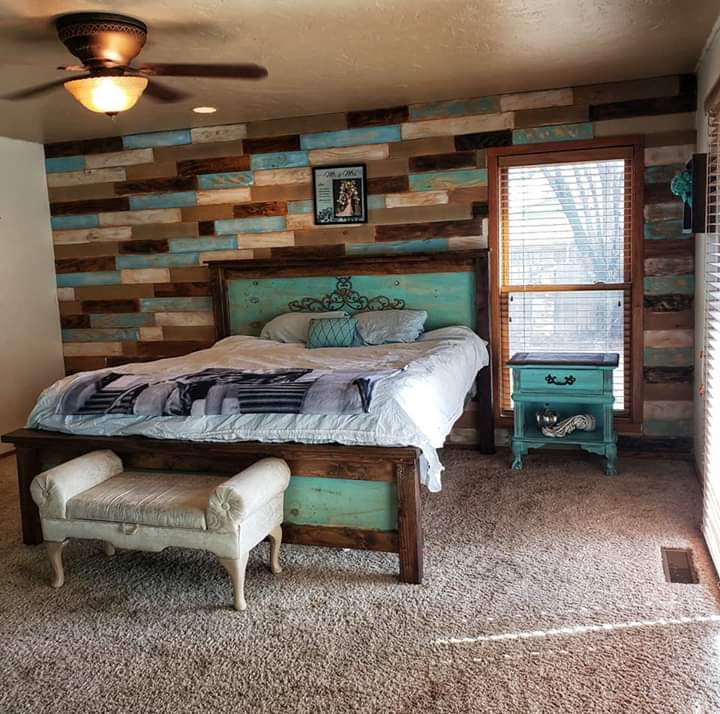
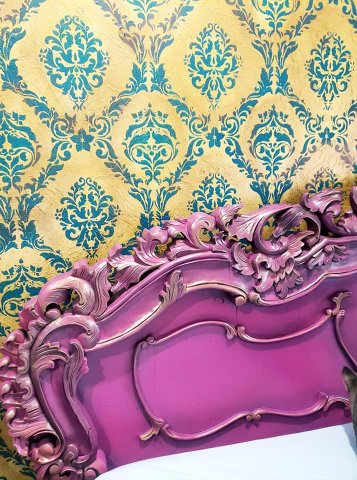
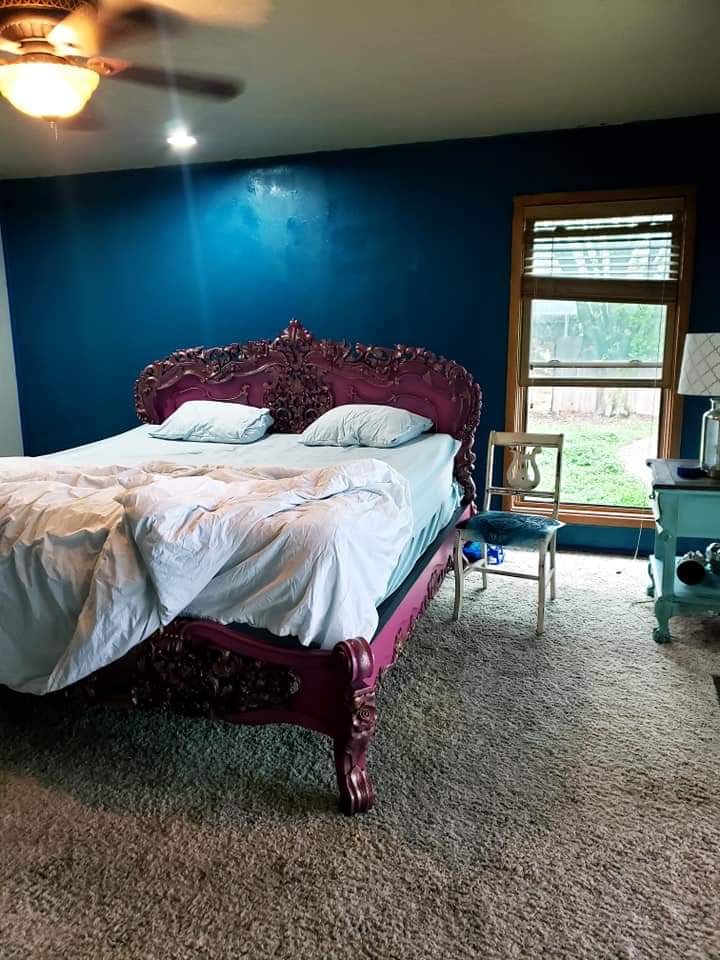
My husband and I were ready to change up our master bedroom from a rustic farmy feel to something more elegant. So we sought out to find that elegancy.
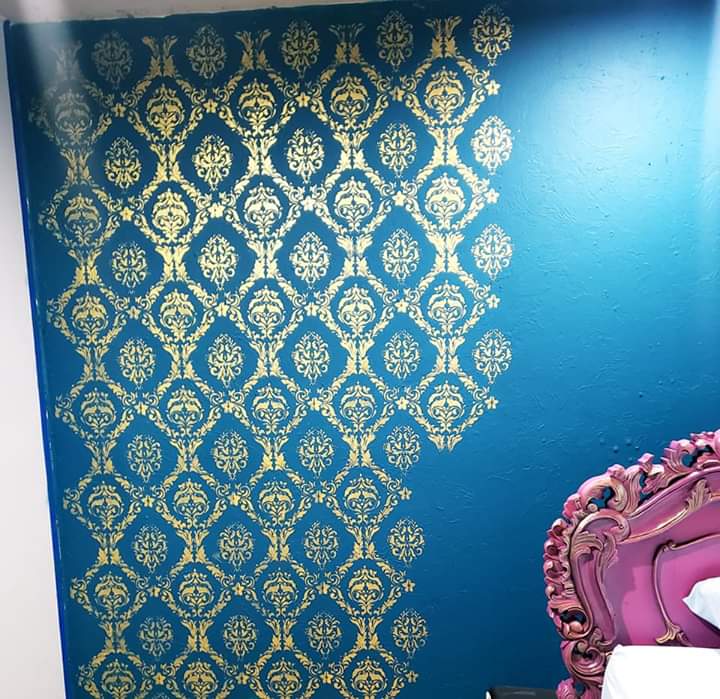
After much thought and searching we decided to do a stencil as our accent wall. I had found this gorgeous wallpaper on pinterest. (Not sure of source)
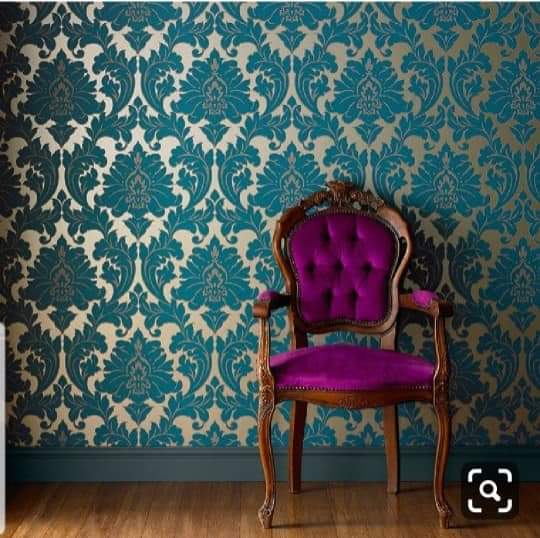
But I’m not a wallpaper kind of gal. If there is ever a chance for me to paint/create something myself I always strive to do it. Because even though sometimes it is frustrating at the end of the day when it’s done I’m proud to say that God gave me the talent to achieve what I sought out to create. How rewarding is that? Enough chat let’s dive into this DIY it gets a little bumpy. But I’m here to teach you from my mistakes and show you the gorgeous end result.?
Supplies you will need
- 2 paint colors of your choice. For this wall we used a half a gallon of “fish tales” by Valspar & 2 8oz jars of Americana decor metallic paint in 24k gold. You can purchase the 24k gold here.?https://amzn.to/39u6RcD
- Stencil of your choice. If you love our stencil you can get it here ?https://amzn.to/2UCcRvI
- Small foam paint roller I used a 3″ foam roller from Hobby Lobby.
- Painters tape
- Paint tray with liners
- Paint rollers and covers
Before you dive into painting I suggest using a sample board or paint a small portion of your wall to see what your colors will look like. I didn’t do a sample spot and it resulted in me doing the wall a second time. Our inspiration picture looked nothing like the wall I had finished. So I ended up having to flip my colors. Oooppps! ?
Once you have completed your test spot and know which color goes first pour your first paint color in your tray. Use your rollers and covers and paint the whole wall in your first color. In our case this was ? tales by Valspar.
After you have painted and let your wall dry completely it’s time to grab your painters tape, foam 3″ paint roller, second paint color, and your stencil. Here comes the fun! I started the stencil from the top left corner of the wall that way I knew my stencil was symmetrical. But if you are confident enough you can start your stencil anywhere in the wall you please. Just make sure it’s straight it so you don’t have a crooked accent wall. Once you have found your starting point use your painters tape to keep your stencil in place on the wall by taping the top and bottom of the stencil.
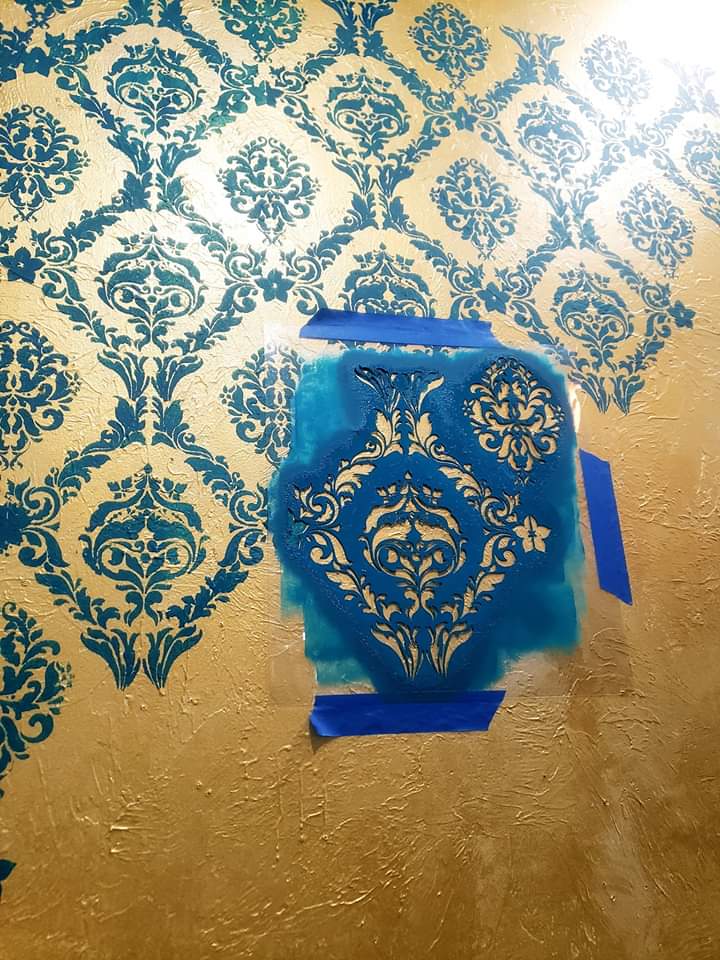
Now pour your second paint color into your second tray. This doesn’t not take much paint at all. I suggest putting your second color in small portions as needed. Once your second color is poured slightly dip your 3″ foam roller into the paint tray. For stenciling you don’t want your roller dripping with paint. If needed roll the excess paint onto a spot of the paint tray that doesn’t have paint on it to remove paint from the roller.
Now that we have our secondary color on our roller we need to apply it to the stencil. Lightly pressing the paint roller into the stencil and using and up and down motion with the roller. You will want to do this until you can no longer see your first paint color coming through the missing spots in your stencil.
Peel the stencil off the wall once you’ve completely covered the stencil area. If the stencil looks a little blurry this means you need to add more paint to your roller. But that’s okay no need to repaint your first wall color. Just place the stencil back on the wall where it was previously positioned, load your brush a little more and try again. If you peeled the stencil off and it’s looks a little messy and not crisp this means you pressed to hard on the stencil, or there was to much paint on your roller. If it’s something you can life with leave it. If not repaint the area your first color and try again with less paint and not such a firm hand.
Once you have pulled your stencil off and are loving the results continue these steps until your wall is complete. I hope this DIY was helpful and helps you create a beautiful space. I know we are loving our new accent wall! If you completed this DIY we would love to see the results you created with our help. Drop us a picture of it in the comments.